
Table of Contents
Easy Gluten Free Puff Pastry Recipe (Flaky, Buttery + 10 Dessert Ideas)
Baking delicious treats at home is rewarding, especially when you master a flaky, buttery crust. Many home bakers fear complex doughs, but this easy gluten free puff pastry makes baking simple for everyone.
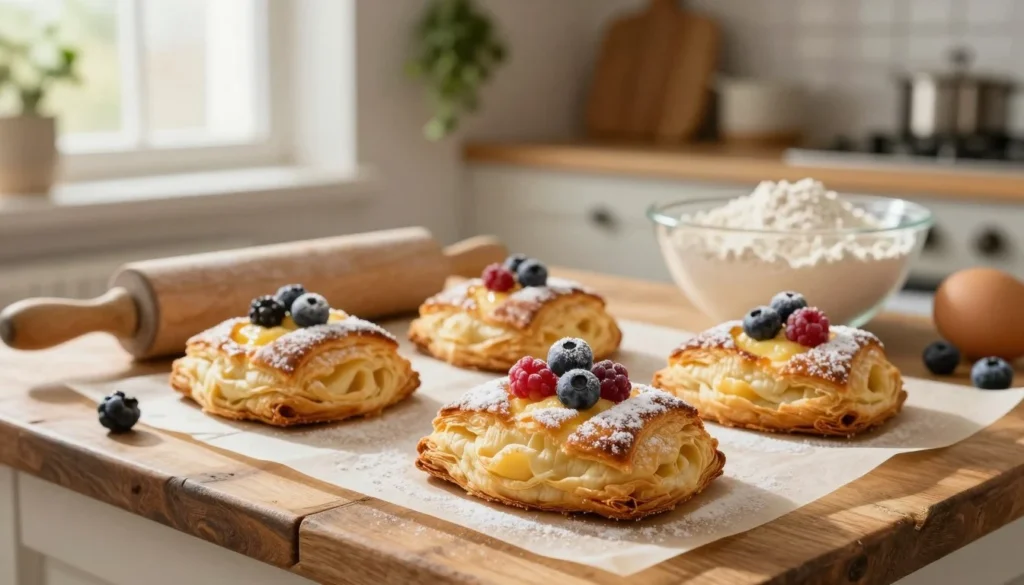
You will learn to create professional-quality layers in your own kitchen. This guide covers cold ingredients, precise rolling, and proper oven temperatures. Once you perfect this gluten free puff pastry, explore 10 creative dessert ideas, from golden pies and tarts to sweet turnovers.
Key Takeaways
- Master the secret to achieving light, airy layers without traditional wheat flour.
- Understand why keeping your butter and dough cold is vital for success.
- Learn the precise folding techniques required for perfect lamination.
- Discover how to adjust your oven temperature to ensure a crisp, golden finish.
- Get inspired with 10 unique dessert recipes perfect for any occasion.
What Makes Gluten Free Puff Pastry Flaky and Buttery
How can dough without wheat still form airy layers? Fat physics and careful ingredient handling hold the answer. Master these ideas, and you can make the best gluten free puff pastry at home.
How Lamination Creates Distinct Pastry Layers
Lamination folds fat into dough. Repeated rolling and folding create hundreds of thin, alternating butter and dough sheets. In the oven, butter water becomes steam and pushes layers apart, creating magical expansion and a light, airy lift.
Why Gluten-Free Dough Needs Extra Structure
Traditional pastry uses gluten for elasticity and strength, but wheat-free dough lacks this natural network. Use high-quality flour blends and starches for structural support, including xanthan gum or psyllium husk to hold delicate layers together.
Temperature Control for Crisp, Tender Layers
Temperature matters most when making a gluten free puff pastry recipe. Keep butter cold so it does not melt into the dough before baking. If butter softens too much, layers merge, creating a dense, greasy texture instead of a crisp, flaky one.
What to Expect from Homemade Gluten Free Puff Pastry
Your homemade pastry should be golden and crisp outside, with a tender, light, visibly layered interior. Unlike wheat-based versions, the best gluten free puff pastry has a buttery crunch for sweet or savory uses. Patience is your greatest tool as you learn to handle the dough with care.
Ingredients and Equipment for Gluten Free Puff Pastry Dough
Success with homemade gluten free puff pastry begins with quality ingredients and proper equipment. Gather your supplies before mixing for a smooth, efficient baking process. Good preparation keeps the dough cool, which helps create its signature flaky layers.
Gluten-Free Flour Blend and Starch Requirements
The dough needs a balanced blend of gluten-free flours and starches. A quality 1-to-1 baking flour with xanthan gum often works well. Extra potato or tapioca starch can improve the elasticity of the dough and provide structure for butter layers without making it tough or gritty.
Choosing Butter, Water, Salt, and Optional Xanthan Gum
Use high-fat European-style butter and keep it cold for distinct, airy layers. If your flour blend lacks xanthan gum, add a small amount to bind the dough. A pinch of fine sea salt enhances the taste of your gluten free puff pastry.
Useful Equipment for Rolling and Chilling
The right tools make lamination easier and more manageable. Keep your workspace cool and your movements precise to protect the butter blocks.
Rolling Pin, Pastry Scraper, and Measuring Tools
A heavy rolling pin helps you apply even pressure across the dough. A sturdy pastry scraper helps fold the dough and clean your work surface. Use accurate measuring cups and spoons to keep your ratios consistent each time.
Parchment Paper, Baking Sheet, and Pastry Brush
Keep several sheets of parchment paper nearby to prevent sticking during rolling. Use a large, flat baking sheet to chill the dough between folds. A soft pastry brush applies egg wash for a beautiful golden finish on your finished treats.
How to Keep Every Ingredient Gluten-Free
When preparing homemade gluten free puff pastry, watch carefully for cross-contamination. Check flour, starch, and butter labels to ensure they are certified gluten-free. Clean your countertops, rolling pins, and bowls well before starting to remove wheat flour traces from earlier baking.
Easy Gluten Free Puff Pastry Recipe
A flaky, buttery gluten free puff pastry made with cold butter, gluten-free flour, xanthan gum, salt, and ice-cold water. Keep everything cold and fold the dough several times to build light, crisp layers.
Prep time: 30 minutes active time, plus chilling
Chill time: about 2 hours total
Yield: 1 batch of puff pastry dough
Category: Pastry
Diet: Gluten-Free
Ingredients
- 250 g unsalted butter, very cold
- 250 g plain gluten-free flour
- 1 1/2 teaspoons xanthan gum
- 1 teaspoon salt
- 150 ml ice-cold water
Instructions
- Mix the dry ingredients. In a chilled bowl, whisk together the gluten-free flour, xanthan gum, and salt until evenly combined.
- Add the cold butter. Cut the butter into small cubes and toss it through the flour. Gently flatten or break up some of the pieces, but leave plenty of visible chunks of butter. Do not overmix.
- Add the water. Pour in the ice-cold water gradually while mixing gently. Stop once the dough starts to come together. It may look a little rough and uneven at this stage.
- Shape and chill. Bring the dough together into a rectangle, wrap it well, and chill for 30 minutes so the butter firms up again.
- Roll and fold. On a lightly floured surface, roll the dough into a long rectangle. Fold the top third down and the bottom third up, like a business letter.
- Repeat the folds. Turn the dough 90 degrees, roll it out again, and fold it into thirds. Repeat until you have completed 4 folds in total, chilling the dough for about 30 minutes whenever the butter starts to soften.
- Final chill. Wrap the dough and refrigerate it for at least 30 minutes before shaping. For the cleanest layers, chill it longer if your kitchen is warm.
- Roll and shape. Roll the finished pastry to about 1/8 to 1/4 inch thick. Cut with a sharp knife or pizza cutter so you do not compress the edges.
- Chill before baking. Place the shaped pastry in the refrigerator for about 15 minutes while the oven preheats.
- Bake until golden. Start in a fully preheated 400°F (200°C) oven. After about 10 minutes, reduce the temperature to 375°F (190°C) and continue baking until the pastry is deeply golden, crisp, and fully cooked. Exact baking time depends on the size and filling of the pastry.
Notes
- Keep the butter, water, dough, and work surface as cold as possible. If the butter softens or begins to leak, stop and refrigerate the dough before continuing.
- If your gluten-free flour blend already contains xanthan gum, check the label before adding the full 1 1/2 teaspoons.
- If the dough cracks badly while rolling, let it sit at room temperature for a few minutes before trying again.
- Do not press or pinch the cut edges of the pastry, because compressed edges can reduce the rise.
- Unbaked pastry sheets can be frozen for up to 3 months when wrapped well and separated with parchment paper.
How to Make Gluten Free Puff Pastry Step by Step
Making your own gluten free puff pastry dough is rewarding, and it turns simple ingredients into flaky, buttery layers. A careful method can produce professional results in your home kitchen. This gluten free puff pastry recipe uses careful temperature control for the best texture.
Mix the Gluten Free Puff Pastry Dough
Combine the Dry Ingredients Evenly
Start by whisking your gluten-free flour blend, starch, and salt in a large chilled bowl. Mix them evenly to prevent pockets of unmixed starch. A consistent base is essential for structural integrity during rolling.
Work in the Cold Butter Without Overmixing
Add small cubes of very cold butter to the dry mixture. Use a pastry cutter or your fingers until the mixture forms pea-sized crumbs. Keep the butter cold so it stays distinct and creates signature layers.
Add Cold Water Until the Dough Holds Together
Gradually drizzle ice-cold water into the mixture while stirring gently. Stop adding water when the dough begins to clump together. Handle the dough carefully, because overworking it can make the final product tough.
Shape and Chill the Butter Block
Form your butter into a flat, square block on parchment paper. Wrap it tightly and refrigerate until firm but still pliable. A well-chilled butter block is the foundation of successful lamination.
Enclose the Butter in the Dough
Roll the dough into a rectangle and place the chilled butter block in the center. Fold the dough edges over the butter, sealing the seams tightly. This package keeps the butter from leaking during rolling.
Complete the First Fold and Roll
Gently roll the dough into a long rectangle on a lightly floured surface. Fold the dough into thirds, like a business letter, to create the first layers. This initial fold is crucial for building the internal structure of your pastry.
Chill the Dough Between Each Lamination
Always wrap the dough and chill it for at least thirty minutes between folds. This step lets the fats firm up and the dough relax. Patience during chilling prevents the butter from melting into the flour.
Repeat the Folds to Build Flaky Layers
Repeat the rolling and folding process three to four times. Each fold multiplies the layers, which puff beautifully in the oven. Keep your workspace cool to protect the quality of the gluten free puff pastry.
Roll the Finished Dough for Pastries and Desserts
Once the folds are complete, roll the dough to your desired thickness. Use a light touch to avoid compressing the delicate layers. Your dough is ready for various treats.
Cut, Shape, and Chill the Prepared Pastry
Cut the dough into desired shapes with a sharp knife or cookie cutter. Place the shaped pieces in the refrigerator for fifteen minutes before baking. This final chill helps the pastry hold its shape and ensures a crisp, golden finish.
Brush with Egg Wash and Bake Until Golden
Lightly brush the pastry tops with egg wash for a beautiful shine. Bake in a preheated oven until the layers puff and turn golden brown. Enjoy serving delicious homemade gluten free puff pastry that rivals any bakery creation.
How to Fix Common Gluten Free Puff Pastry Problems
Even skilled bakers face problems with gluten free puff pastry. The process needs care, but small technique changes can solve most issues.
Preventing Cracks When You Roll the Dough
Cracks usually mean the dough is too cold or dry. If fissures appear, rest the dough at room temperature for a few minutes to soften the fats. Lightly misting the surface with water may restore elasticity.
Repairing Butter Leaks During Lamination
Butter leaks when the fat gets too warm and melts into the layers. If butter seeps out, stop and refrigerate the dough for 20 minutes. Then dust the spot with extra flour to absorb moisture and seal the leak.
Keeping the Pastry from Becoming Sticky
Sticky dough often comes from over-handling or a warm kitchen. Keep the workspace cool, and use a bench scraper instead of warm hands. If needed, chill the dough until it feels firm again.
Improving Puff and Flakiness in the Oven
If your gluten free puff pastry fails to rise, the oven may be too cool or the layers compressed. Fully preheat the oven to a high temperature so steam can form. Do not press the shape edges, or you may seal the layers and stop expansion.
Handling Dough That Crumbles or Falls Apart
Crumbling often means the dough is too dry or lacks a binder such as xanthan gum. If it breaks apart, add one teaspoon of cold water at a time until it holds together. Patience is essential; wrap it tightly in plastic and let it hydrate in the fridge to improve its structure.
How to Use and Bake Gluten Free Puff Pastry Sheets
Once your dough is prepared, how you handle and bake your gluten free puff pastry sheets determines the final texture. Proper technique keeps the delicate layers distinct and airy during baking.
Rolling the Dough to the Right Thickness
Keep your surface lightly floured to prevent sticking. Use gentle, steady pressure so you do not crush the butter layers that provide lift. Aim for 1/8 to 1/4 inch thickness, allowing the gluten free puff pastry to expand fully without becoming heavy.
Creating Clean Edges Without Compressing the Layers
Use a sharp knife or pizza cutter to trim your dough. A dull blade pinches the edges, preventing even rising in the oven. Clean, vertical cuts expose the layers and encourage a beautiful, flaky rise.
Docking, Venting, and Sealing Filled Pastries
For a flat tart, use a fork to dock the center and prevent excessive puffing. For filled pastries, brush the edges with water or egg wash to create a strong, reliable seal. Cut small vents in the tops so steam escapes and the filling does not leak.
Choosing Baking Temperatures and Timing
High heat is the secret to success. Start your oven at 400°F (200°C) to create steam that separates the layers. After ten minutes, lower it to 375°F (190°C) so the center of your gluten free puff pastry bakes without burning the exterior.
Knowing When the Pastry Is Fully Baked
Visual cues help you determine when the pastry is done. Look for a deep, golden-brown color across the surface, including the sides. It should feel firm and sound hollow when tapped, showing that the base is perfectly crisp and fully cooked.
10 Easy Puff Pastry Desserts to Make with Gluten Free Pastry
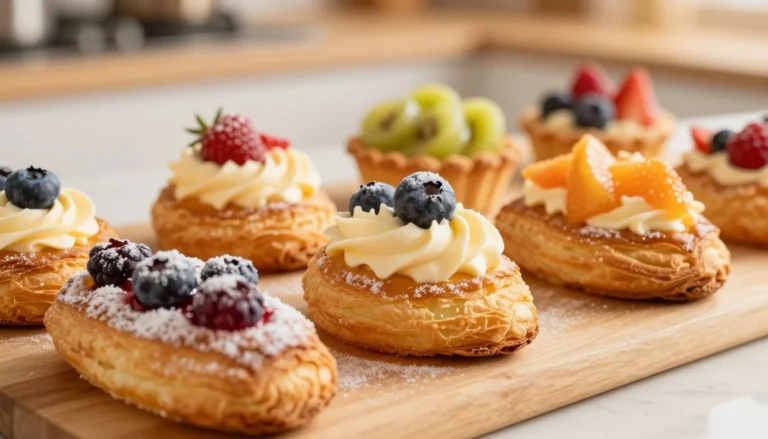
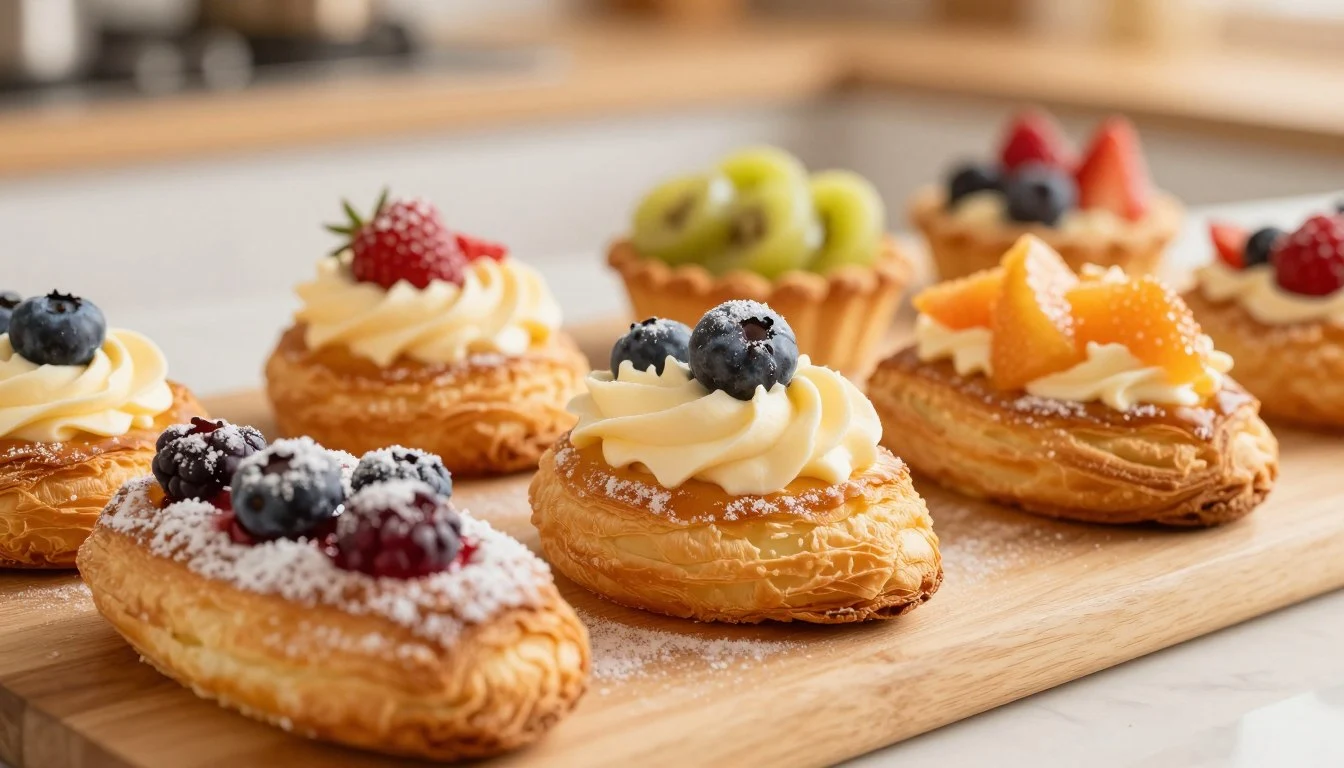
From fruit-filled pockets to elegant tarts, gluten free puff pastry suits many cravings. After mastering lamination, you can turn the dough into many professional-quality treats. These easy puff pastry desserts show your skills and delight guests with buttery, flaky layers.
Fruit Turnovers with Apples, Peaches, or Berries
Turnovers are a classic way to enjoy warm fruit pastry. Cut the dough into squares, add spiced fruit filling, and fold them into triangles. Seal the edges with a fork so juices stay inside during baking.
Glazed Strawberry or Mixed Berry Fruit Pastry
For a bright treat, top rectangular dough pieces with fresh strawberries or seasonal berries. Brush them with apricot glaze after baking for shine and extra sweetness. These are popular easy puff pastry desserts for summer gatherings.
Classic Gluten Free Apple Hand Pies
Hand pies offer a portable version of traditional pie. Toss thinly sliced apples with cinnamon and sugar for a comforting filling. They are perfect for lunchboxes or quick snacks on the go.
Easy Pear and Almond Puff Pastry Tart
Combine sliced pears with a thin layer of almond cream for a rich flavor. Almond’s nuttiness pairs well with buttery layers of gluten free puff pastry. Arrange the pear slices in a fan pattern for an elegant look.
Individual Peach or Plum Galettes
Galettes are rustic and forgiving, making them ideal for beginners. Place sliced peaches or plums in a dough circle’s center, then fold the edges inward. This method highlights the fruit’s natural beauty.
Chocolate Hazelnut Puff Pastry Twists
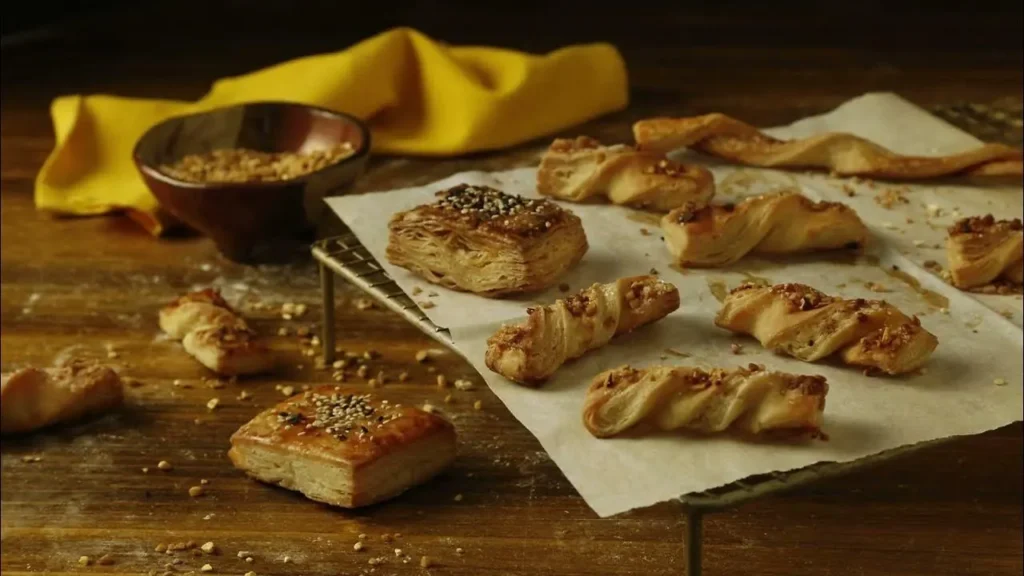
For an indulgent treat, spread chocolate hazelnut spread over the dough. Fold it, cut it into strips, and twist each strip before baking. These crunchy, chocolatey sticks always please a crowd.
Cinnamon Sugar Palmiers
Palmiers are simple yet impressive. Roll the dough in cinnamon sugar, fold both sides toward the center, and slice. These caramelized treats provide a satisfying crunch in every bite.
Jam-Filled Puff Pastry Pinwheels
Use your favorite high-quality fruit jam to make quick pinwheels. Spread the jam thinly, roll the dough into a log, and slice it into rounds. The result is a sweet, bite-sized fruit pastry for any dessert platter.
Lemon Cream Cheese Danish Pastries
Add sweetened cream cheese and lemon zest to the center of your dough squares. Bright citrus notes balance the pastry’s richness. Serve these warm with a drizzle of icing.
Fresh Berry and Pastry Cream Tart
For a show-stopping dessert, bake a large pastry sheet until golden and crisp. After it cools, spread thick pastry cream over the top. Finish with colorful fresh berries for a professional look.
Storing, Freezing, and Reheating Gluten Free Puff Pastry
Proper storage protects the delicate layers in homemade gluten free puff pastry. These steps help your work stay flaky and buttery as the day you made it.
Refrigerating Homemade Gluten Free Puff Pastry Dough
If you will use gluten free puff pastry dough within 24 hours, refrigerate it. Wrap the dough tightly in plastic wrap to prevent drying or absorbing food odors. This protective seal keeps the moisture balance needed for beautiful, laminated butter layers.
Freezing Gluten Free Puff Pastry Sheets
For longer storage, freeze unbaked gluten free puff pastry sheets for up to three months. Place parchment paper between layers to prevent sticking, then wrap the stack securely in heavy-duty foil. When ready to bake, thaw the dough in the refrigerator overnight so it stays firm and easy to handle.
Storing Baked Pastries Without Losing Crispness
After baking, enjoy your treats fresh, but store them briefly when needed. Keep them in an airtight container at room temperature for one day, or in the refrigerator for up to three days. Avoid plastic bags because they trap steam and remove the pastry’s signature crunch.
Reheating Turnovers, Tarts, and Twists
To restore that perfect crispness, avoid the microwave. Instead, place your pastries on a baking sheet in a preheated oven at 350°F for about five to ten minutes. This gentle heat revives the buttery layers without making the dough soft or soggy.
| Pastry State | Storage Method | Maximum Time |
|---|---|---|
| Raw Dough | Refrigerator | 24 Hours |
| Unbaked Sheets | Freezer | 3 Months |
| Baked Pastries | Airtight Container | 3 Days |
Serving Ideas and Recipe Adaptations
Once your pastry is golden and crisp, add creative toppings and flavor pairings. Add textures and colors to your recipes with puff pastry, making each bite feel special.
Finishing Desserts with Glazes, Sugar, and Icing
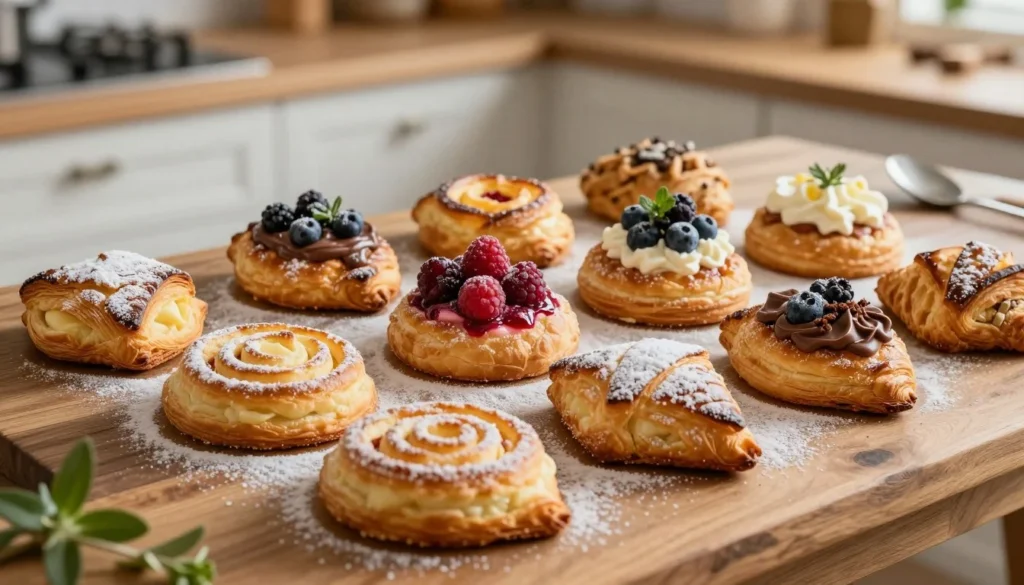
A dusting of powdered sugar can make a dessert look elegant. For a professional finish, drizzle thin vanilla icing over cooled pastries. Before baking, add coarse sparkling sugar for a delightful crunch on the crust.
For added richness, serve pastries with whipped cream or a side of crème anglaise. Fresh berries or mint can add bright color against the golden-brown dough.
Matching Fillings to Seasonal Fruit
Use ingredients that are in season to enjoy your creations. In spring, pair your dough with fresh rhubarb or strawberries. In autumn, warm spiced apples or pears make a comforting treat that highlights the pastry’s buttery nature.
Making Dairy-Free or Egg-Free Adjustments
Adapting your gluten free puff pastry for dietary needs is simple. Replace butter with high-quality vegan butter sticks to keep enough fat for flaky layers. For an egg-free wash, brush the pastry with almond milk and a little maple syrup for a beautiful golden sheen.
Using Store-Bought Gluten Free Puff Pastry
You may prefer store-bought options when you need to save kitchen time. These products work well for quick weeknight desserts when you cannot laminate your own dough. Keep a box in your freezer for a last-minute treat when guests arrive.
How to Choose the Best Gluten Free Puff Pastry for Your Recipe
When choosing a pre-made product, check its ingredient list for high-quality fats and few additives. Choose brands with a clean label for the best flavor. Consider sheet thickness: thinner dough works better for delicate tarts, while thicker sheets suit hearty hand pies.
| Pastry Type | Best Use Case | Handling Tip |
|---|---|---|
| Homemade | Gourmet Desserts | Keep very cold |
| Store-Bought | Quick Weeknight Treats | Thaw gently |
| Vegan/Dairy-Free | Dietary Restrictions | Watch bake time |
Choosing the right gluten free puff pastry gives you a delicious, attractive final result. Experiment with these techniques to master stunning recipes with puff pastry that everyone can enjoy.
Conclusion
Making high-quality gluten free puff pastry at home rewards patience with rich flavor and a crisp, layered texture. Use cold butter and steady lamination to help each layer puff well in the oven. These core techniques can help you create professional results in your own kitchen.
This versatile dough invites endless culinary creativity. One batch of gluten free puff pastry can become fruit turnovers, delicate hand pies, or savory tarts. These ten dessert ideas offer a strong foundation for future baking projects.
Choose storage methods and filling combinations that fit your specific dietary needs and flavor preferences. Freeze your sheets for later or bake them right away; homemade treats can impress any guest. Begin your next baking session with confidence, and enjoy making flaky treats from scratch.
FAQ
What is the secret to achieving the best gluten free puff pastry at home?
The secret to successful homemade gluten free puff pastry is controlling temperature and laminating dough. Keep butter and water ice-cold, so the fat does not melt into the dough. Use King Arthur Measure for Measure Gluten-Free Flour and precise folds to create thin, alternating layers of dough and fat.
Can I use this gluten free puff pastry recipe for savory dishes as well as desserts?
Absolutely. This gluten free puff pastry dough works for desserts and savory recipes, including chicken pot pies, appetizers, and tartlets. Omit optional sugar to keep a neutral, buttery flavor for savory fillings.
How do I prevent my gluten free puff pastry sheets from cracking when I roll them out?
Cracking usually means the dough is too cold or dry. For flexible easy gluten free puff pastry, let chilled dough sit at room temperature briefly before rolling. If it stays brittle, add slightly more hydration next time or use a blend with xanthan gum for elasticity.
What are the most popular easy puff pastry desserts to make with this dough?
Make fruit turnovers, classic apple hand pies, and elegant pear and almond tarts. For a quicker treat, try cinnamon sugar palmiers or chocolate hazelnut twists. Seasonal strawberries or peaches can create fresh fruit pastry that rivals any professional bakery.
Can I freeze the dough if I don’t want to bake it all at once?
Yes, freeze unbaked gluten free puff pastry sheets for up to three months. Wrap them tightly in parchment paper and plastic wrap, then seal them in a freezer bag. Thaw the sheets in the refrigerator overnight to keep them cold and layered during baking.
Why did my puff pastry fail to rise or come out “leady”?
If the pastry did not puff, the oven may have been too cool, or the butter melted too soon. For homemade gluten free puff pastry, set the oven to at least 400°F (200°C). This heat quickly turns butter water into steam, forcing layers apart and creating signature flakiness.
Is it possible to make a dairy-free version of this gluten free puff pastry recipe?
Yes, use high-quality vegan butter sticks, such as Miyoko’s Creamery Plant Milk Butter or Country Crock Plant Butter. Keep the dairy-free alternative very firm and cold while rolling and folding to create the same layered effect.
How should I store baked items like turnovers or tarts to keep them crisp?
Baked puff pastry recipes taste best on the day they are made. You can store them in an airtight container at room temperature for up to two days. To restore the “crunch,” skip the microwave and reheat them in a 350°F oven for 5–10 minutes, until warm and crisp.